

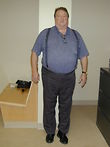
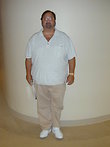
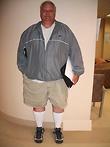
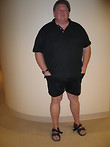
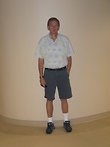
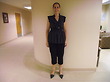
Before & After Photos
Total Count: 20, Page: 1 of 4
Click the images below for a more detailed view:
 |
 |
Duodenal Switch |
||
 |
 |
Duodenal Switch |
||
 |
 |
Duodenal Switch |
||
 |
 |
Duodenal Switch |
||
 |
 |
Duodenal Switch |
||
Total Count: 20, Page: 1 of 4
|
|
|
Duodenal Switch |
||
|
|
|
Duodenal Switch |
||
|
|
|
Duodenal Switch |
||
|
|
|
Duodenal Switch |
||
|
|
|
Duodenal Switch |
||
Pacific Laparoscopy
2250 Hayes Street
Suite 610
San Francisco, CA 94117
Phone:
(415) 668-3200
Fax: (415) 668-2010

HIPAA Privacy Policy | Legal Note | Related Resources | Site Map
© Copyright 2009 - 2024 Pacific Laparoscopy
Medical Web Site Design & Marketing by Etna Interactive
Open Payments Database Notice
At Pacific Laparoscopy, Dr. John Rabkin performs laparoscopic duodenal switch surgery, vertical gastrectomy, revisional surgery, LAP-BAND® surgery and plastic surgery after weight loss for weight loss surgery patients from San Francisco, Oakland, Walnut Creek, Palo Alto, Marin, Santa Rosa, Thousand Oaks, Sacramento, San Jose and throughout the Bay Area and beyond.


